12.18.2011

16 weeks

Happy 16 weeks of pregnancy everybody!! Things are going that good suddenly. It's definitely the best I've ever felt while being pregnant. 


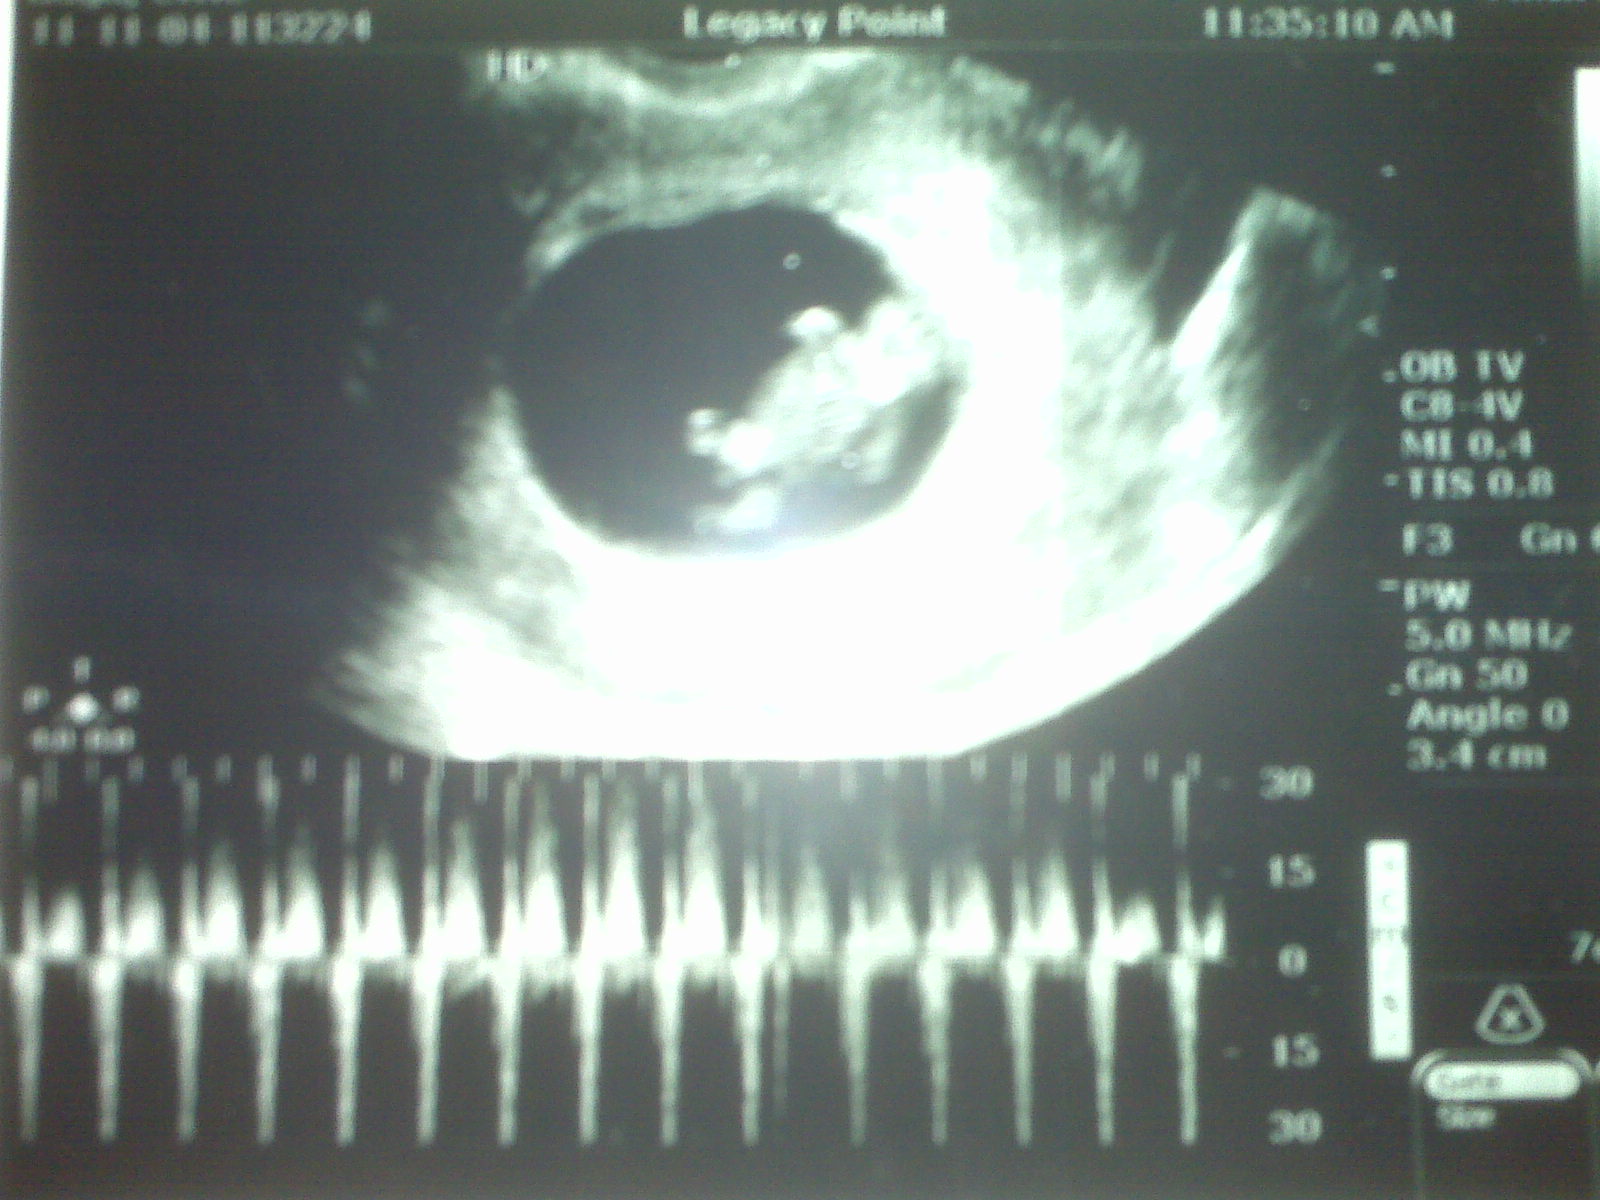
Ben and I went to see the midwife for our 16 week appointment on Friday. Here are a few of the ultrasound pictures. 


{full body profile, who can spot the turkey leg our baby seems to be stashing?)
{view of the spine and arm}
{here's the brain! looks like a butterfly}
 {hand and foot}
 {alien face!}
We were hoping to announce whether it's a boy or girl but the baby's hand or the umbilical cord was blocking the view! Sorry folks, maybe next time.

In other news, I was able to take my IV out on Friday! My midwife decided a trial run over the weekend was a good idea to see how I handle things. Everything's been fine so far; barring any major events tonight I'll be able to call and report good news to my midwife tomorrow. 

And finally: Don't poke the bear, 2nd trimester or not.
Ben: "Don't look miserable."

12.15.2011

Simple Christmas Crafts

You might say, "These craft projects are so simple that a sick pregnant woman only able to utilize one arm effectively could do them!" How true that is. Here are 3 quick and easy decorations I've made with things I already had around the house.


{clear ball ornament, copy of favorite Christmas carol, paper cutter}

{mason jars, epsom salt - chunkier texture looks like snow, tea lights, twine/ribbon}

{card stock, scrapbook paper, glue, brads, twine/ribbon}

This one took a little more planning, but if you have a die-cut machine it'll be that much easier for you. How I did it:
  • create a template for your background shape. I created mine in MS Word with the shapes tool. Arrange 2 braces (these guys { } ) and 2 straight lines into a continuous outline. Hint: draw one brace to the size and shape you're satisfied with, then copy, paste, and rotate.
  • print on card stock, cut, and trace the shape onto whatever paper you like.
  • print the letters for your message in a contrasting color and cut out. (this is where I wish I had a Cricut!)
  • glue letters on, poke a brad through the top of the shape, separate prongs slightly - just enough to slide the string in, bend prongs down so they lay flat.
  • tie bows out of the string/ribbon you used and glue to the ends.

12.02.2011

14 weeks

We're at 14 weeks and growing stronger than ever! After losing about 10 pounds in the early weeks of the first trimester I'm happy to report that I've regained almost all of it and don't plan on stopping there. (I still have that 2nd pumpkin cheesecake we made for Thanksgiving to keep me company.)


On November 11th I started a peripheral IV. Ben or I administer all the doses and a nurse comes out every 3-5 days to put a new catheter in my arm. (Super fun!) After seeing my midwife today we decided that 2 more weeks with this thing is a good idea. I'm doing well, but there's a definite risk I could lose all of the progress we've made. I like having the ability to eat, thank you.


I've gotta say, 1 liter of fluids per day plus a syringe of anti-nausea medicine handy is just what this girl needed. Not what I wanted to do...but hey, lesson 1 for this mom-to-be was that needs and wants don't come packaged together. An old lesson needing to be relearned apparently! Take last night for example...I definitely wanted that huge piece of peach-on-the-bottom cake with a big scoop of ice cream on the side. I am here today to tell you, it's not what I needed. At least, not after an entire bowl of beef stew and all of the elote (mexican style corn, delicious!) that Ben made for us to share. Just call me the hungry, hungry caterpillar...stomachache and all.


Stay tuned, on December 16th (16 weeks) Ben and I go back to the midwife to find out if we're having a boy or girl!

11.19.2011

Raspberry Sauce for Pork Roast

I'd better get this up here before I forget. This is a wonderful recipe Ben made for me once and is also the first real food I ate in the first trimester. My stomach and I paid dearly for it afterward...it is that good. I'm just posting the directions for sauce and seasonings.


Raspberry Sauce (over pork)


Pork Rub:
- 1/2 tsp. of each of the following: salt, garlic salt, chili powder
- mix together and rub over meat before cooking (you'll be glad you did)


Sauce:
- 1 C raspberry jelly
- 1 C ketchup
- 2 Tb. white vinegar
- 2 tsp. chili powder


Combine all of the above in a small saucepan. Bring to a boil, reduce heat and simmer for 2 minutes or until smooth. (stir often frequently until you get all the lumps out)


You can either brush on some of the sauce for the last 15 minutes if you're roasting, or pour it over the pork for a deliciously fruity gravy. Try other flavors of preserves like plum or apple!

Easy Wall Art

If you're like me you hate to throw things away that have at least some creative potential. Or, again like me, have a decorating budget of next to nilch...you think, "I wish I could spruce up my walls but not spend half my paycheck at the craft store." Bet you didn't know that you probably have everything you need to do just that in your craft room, garage, attic, or can easily be gotten at a local thrift store.

Here is what I made today.

This is what you'll need.
  • old calendar
  • straight edge + exacto knife (paper cutter or a steady hand with scissors will work)
  • matte board (safe cutting surface)
  • glue gun
  • picture frame larger than your selected artwork
  • fabric scrap large enough to fill the frame

1. Trim away your soon to be masterpiece. Don't stress if your edges are not absolutely perfect. (mine weren't) An important lesson in crafting is to look at everything from a real-life distance; you don't ever actually see anything as up close as when you were making it - shoulders hunched, neck craned, nose practically touching the table. However, if your straight-edge or picture really start sliding around use some masking tape to keep them in line.


2. Lay your fabric face down and place the backing of the picture frame in the center. Now is a good time to trim away excess fabric. (you only need to wrap around the backing 1" - 1.5", enough so the fabric isn't pulling away from the glue) Glue down the edges in a gift-wrapping fashion to keep the front smooth and taut.

3. Optional, depending on your frame. The frame I'm using is a vintage thrift-store find so it doesn't have all the necessary backing and the glass needs some TLC. Use some thick scraps of whatever you have laying around as spacers to keep the picture in place - foam core board, cardboard, packing foam...you get the idea. (balsa wood scraps used here)


4. Attach artwork using a little hot-glue and proudly display on any lonely wall or bookshelf!


This could also be a really fun way to have a rotating display of kids' artwork! What's a better way to make your little artist feel special by having their handiwork displayed in a gallery-worthy frame? Rather than gluing the art to the fabric panel, just make sure to have a piece of glass in place.

11.07.2011

Accomplishments

Lately I've had quite a bit of time to think. (wallow) While thinking can be great, when left unchecked it can lead  to places that shouldn't be revisited. (middle school...) Sooner or later that kind of aimless wandering into the dark corners of the mind gets downright scary. (time to google pictures of puppies) The time comes when it's do or die, (in middle school - with no puppy) and doing much of anything when you're miserable and pregnant (redundant, no?) is just....hard. So, when there's no one there to deliver the ugly truth, (a mirror) it's time to pull up those big-girl pants (the fuzzy pajama ones) and face it alone. Here's what you do should you ever find yourself as desperate: You say, "Self!" (the mental cracking has begun) "Why not do something about it? You can shower! You can open that terribly difficult cellophane around your Cup'O'Noodles!" And so I did, but I didn't stop there. I decided personal hygiene and preparing simple, prepackaged foods wasn't going to cut it this time around. (but maybe next time) I was tired of staring at my horribly split ends and decided to take action. (dramatic climax?) Not to worry, I've trimmed my own hair a few times before now and it always comes out even. (anti...climax) And it did turn out pretty awesome. So, I guess the moral to this little story would be...um.... (what's a story without a moral, and pictures) Choose to be happy...with what you can manage to do in life...as long as you do your best. (that wasn't slapped together in 5 seconds...no sir)

An illustration. (slapped together in MORE than 5 seconds)

11.04.2011

ere-way egnant-pray!

It's official. We're 10 weeks pregnant today! We had our first prenatal visit with our new midwife. (I really like her despite my grumpy attitude about waiting this long to be seen. No worries, I'm generally pretty grumpy about everything at this point.) Although our little baby is only 3.5 cm today we caught a glimpse of what might be in store for us down the road. This little one is a mover and a shaker! During the ultrasound he/she was constantly wriggling around.

The best I could do today is to take a picture with my phone of the ultrasound prints. (I hang my head in shame as a serious amateur photographer.)

The lines at the bottom track the heartbeat. (!!!!!)

Before I was pregnant I used to look at ultrasound pictures the way most people might look at a Picasso. (Head cocked to the side slightly, "Oh...yeah. Cool...baby?") Even though this is one of the more recognizable pictures, the head is in the top-right of the black circle, the hands and feet are the smaller little blobs that don't look connected.